
Opportunity Boards
To access Opportunity Boards, you'll choose 'Data Boards' from the dashboard's main navigation.
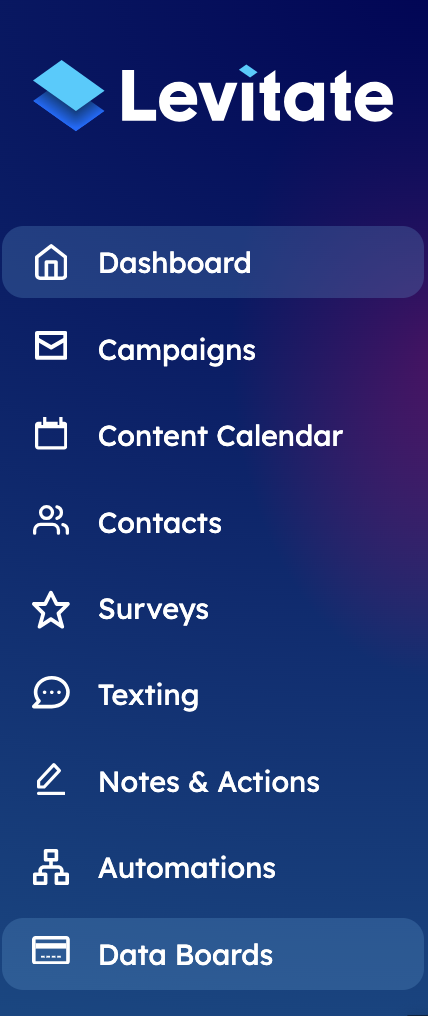
Note: Opportunity Boards are only available on accounts with the Opportunities feature enabled. Contact your Success Specialist if you don't see them.
From granular details for users and high-level information for leadership, Opportunity Boards allow companies to visualize and track deal and relationship progression. Each opportunity board can be designed with phases specific to your organization. From there, users can add details and slide from phase to phase as the relationship progresses.
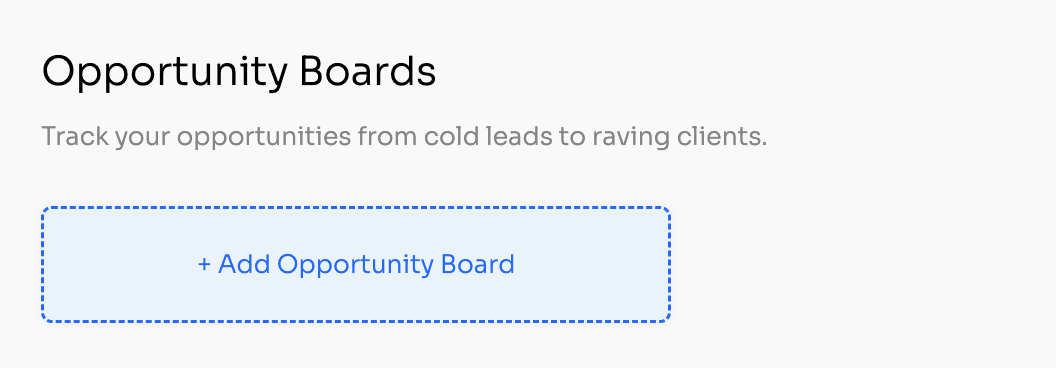
There can be multiple Opportunity Boards per account — to create a new Opportunity Board, choose + Add Opportunity Board.
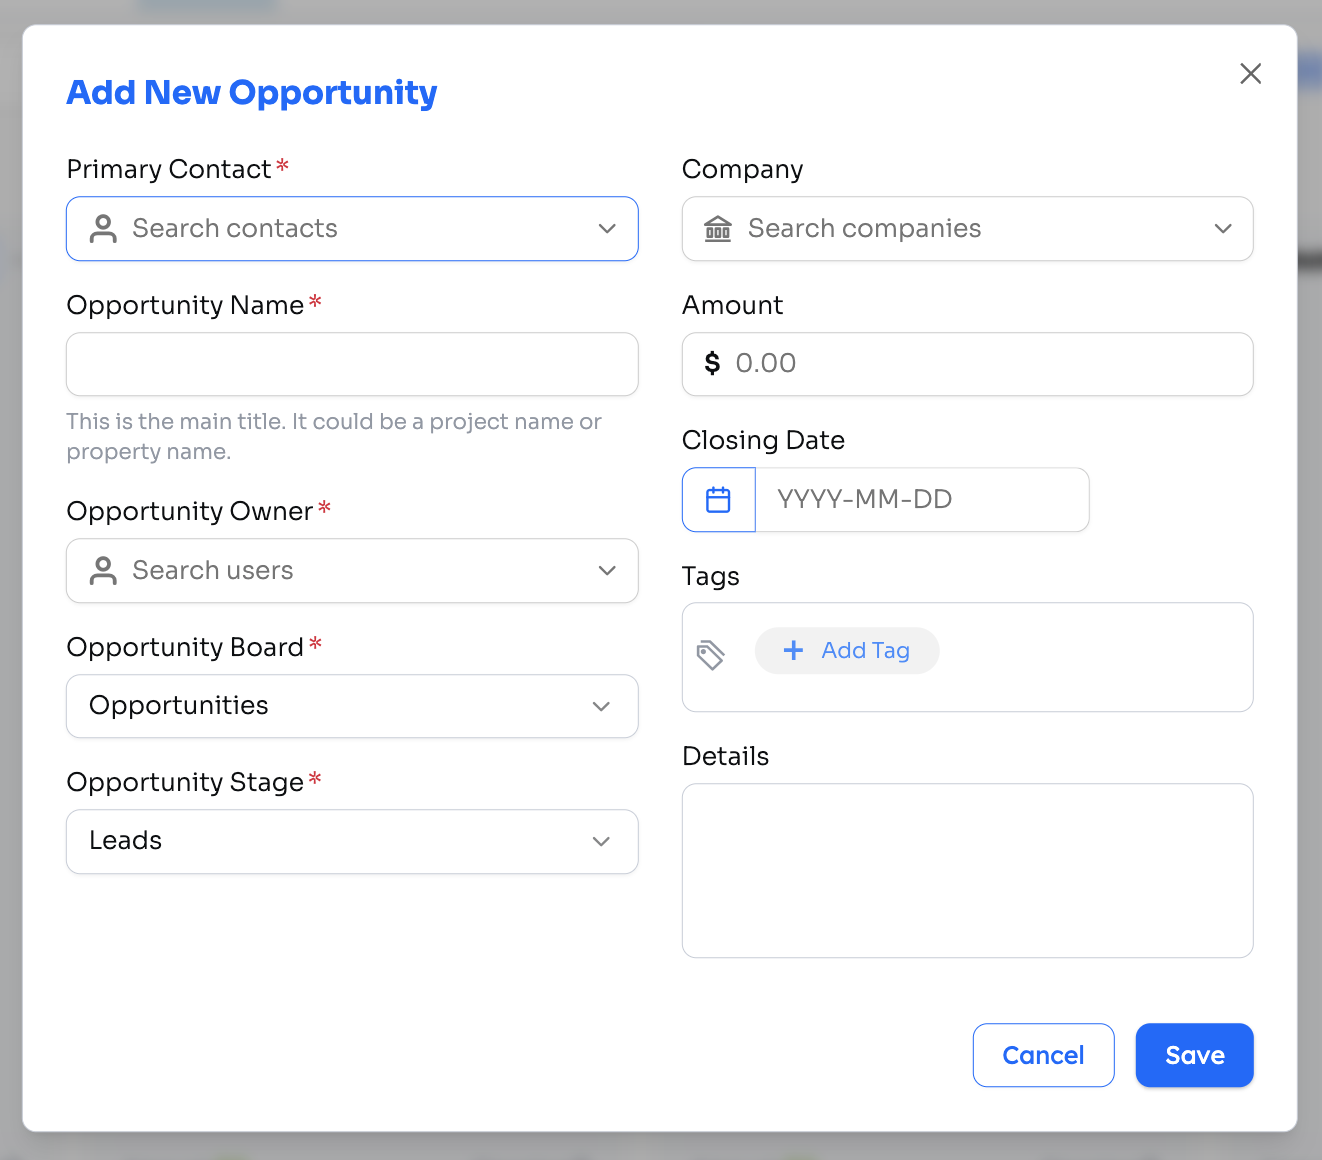
Creating an Opportunity
Users can create contact-specific opportunities to track the details, values, and progression of their deals.
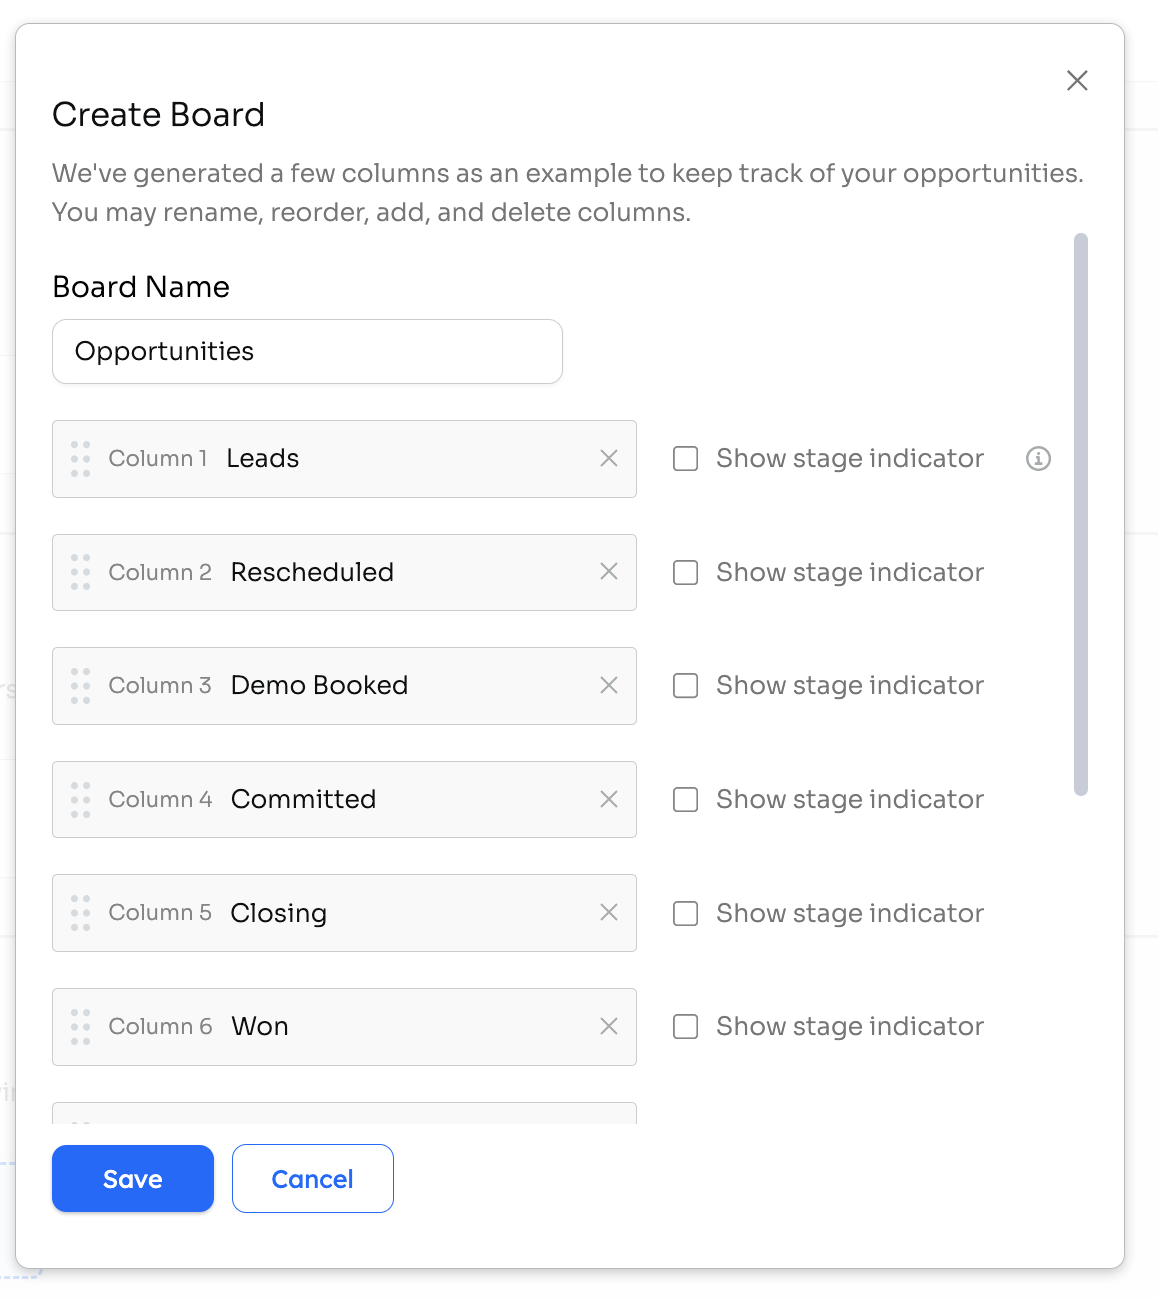
Designing the Board
You can customize columns to reflect your organization's unique cycle. New boards start with example columns based on your account's industry. Real Estate accounts start with Leads, Appointment Booked, Offer Submitted, Under Contract, and Closed. Other accounts start with Leads, Rescheduled, Demo Booked, Committed, Closing, Won, and Lost. You can rename, reorder, add, or delete columns.
Default Owner
When designing a board, you can set a Default Owner, a single user who is assigned to new opportunities that have no owner — for example, opportunities added manually with the owner field left blank, or CSV rows with a blank Opportunity Owner cell. This is useful for boards where the same person or team owns incoming deals.
Note: opportunities created by an automation are assigned to the automation's sender (the user who owns the automation), not the board's Default Owner.
To configure it, choose Edit from the ⋯ menu on the board card (or Edit Board in the board header) and use the Default Owner picker to select a user. You can change or clear this setting at any time.
Importing data to the board using spreadsheets
Now, data for an opportunity board can be imported via CSV spreadsheet!
To import, choose Import from CSV in the board header, then upload your file, map its columns, and process the import.
Available fields to import:
- Amount
- Close Date
- Company
- Details
- Opportunity Name
- Opportunity Owner*
- Owner ID (optional alternative to Opportunity Owner)
- Opportunity Stage*
- Primary Contact*
- Tags (separate multiple tags with commas or semicolons)
Starred fields are required columns— if the CSV is missing any of the starred columns, the spreadsheet will not import. Individual rows can leave the Opportunity Owner cell blank; those opportunities are assigned to the board's Default Owner.
Note: Mass importing contacts that are already on the board in one stage will not move them to another stage — it will create duplicates.
Some finer details
- Opportunity Owner must be the email address or ID of an existing user on the customer account
- Primary Contact must be the email address or ID of an existing contact in the customer account. If an email address is given and no contact is found, we will attempt to create a contact with that email address.
- Opportunity Stage must be the name of an existing stage on the board.
- If Opportunity Name is not provided and the Primary Contact already exists, we will default it to the name of the Primary Contact
- If Company is provided, it must be the ID or the name of an existing Company in the customer account.
Utilizing the Board
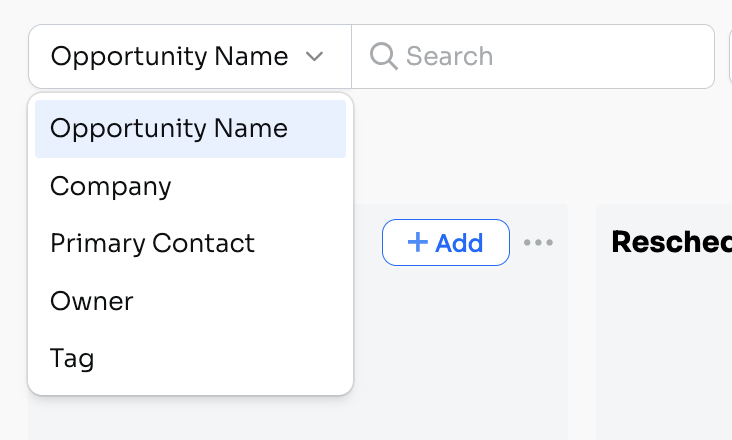
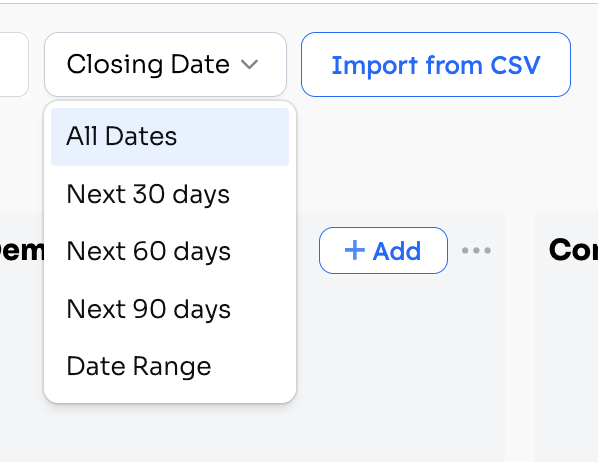
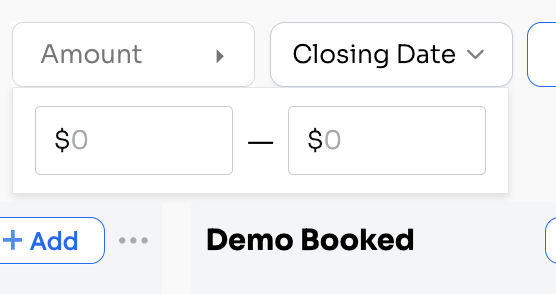
Users can filter the board for a customized view!
Automations & Opportunities
Opportunities can be created or updated through an automation step. The step in the Automation allows the user to choose the Opportunity board, the opportunity stage, and the dollar value for the created or updated opportunity. Read more about Automations + Opportunities here.
By default, a new opportunity is named with the contact's name and company — for example, "John Smith (Acme Inc)" when the contact has a company. You can configure the automation step to use Contact name only or Company name only instead — useful for B2B workflows where opportunities track companies rather than individual people. This naming option applies only when the step creates an opportunity.
Opportunity Created Trigger
An automation can be triggered when a new opportunity is created on a specific board. When building an automation, choose the Opportunity Created trigger and select the target Opportunity Board. The automation fires each time a new opportunity is added to that board, whether created manually or by another automation step. Opportunities imported via CSV do not fire this trigger.
Note: This trigger is only available on accounts with the Opportunities feature enabled. Contact your Success Specialist if you don't see it.
To limit which opportunities the automation acts on, for example only those added to a particular stage, add a Conditional Segment at the top of the automation and set its primary filter to that opportunity stage. Move the automation's steps under that segment. Opportunities in other stages fall into the Everyone else segment, which can stay empty (no steps) or hold its own steps. See Automation Settings and Logic for more on segments.
Note: Only one Opportunity Created automation runs for each new opportunity on a board. If you want different follow-ups for different stages, build them as separate segments inside a single automation rather than as separate automations.
Stage Automations
In column view, each stage has a ⋯ menu in its column header with Add card, Create stage automation, and Delete all cards. Use Create stage automation to build an automation that starts when a card moves into that stage. If the stage already has an automation, the menu shows Open stage automation instead.

Note: Create stage automation and the automation pill described below appear only on accounts with automations enabled. Contact your Success Specialist if you don't see them.
Create a stage automation
- In column view, open the ⋯ menu for the stage and choose Create stage automation. The New stage automation window opens.
- Review the Trigger. It is a Tag trigger that uses the stage's board tag, so when a card moves into the stage, its primary contact gets that tag and you can start the automation for them.
- Enter an Automation name. The name is pre-filled with the stage name followed by "follow-up".
- Under First step, choose one of the following. You write the message or task in the builder.
- Send email: Email the contact.
- Send text: Text the contact. This option appears only on accounts with texting enabled.
- Create action item: Add a follow-up task for your team.
- Choose Save as draft to save the automation without opening it, or Create and open builder to save it and go straight to the builder.

Add more steps and set timing in the builder. If the automation can't be created, an error message reading "Failed to create the automation" appears.
Open a stage's automation
A stage with a matching automation shows a pill in its column header. The pill displays the automation's name, with "(draft)" added for a draft automation, and is gray for a draft and purple once published. Click the pill, or choose Open stage automation from the stage menu, to open the automation.
Note: A stage is matched to its automation by the tag name saved in the automation's trigger. If you rename a stage or the board, the pill stops showing until you update the trigger to the new tag name.
Moving a card into a stage still shows the Start Automation prompt.
Column and card layout
Each column shows a count of its cards and the stage's total opportunity amount (for example, "$X total"). Each card lists Contact:, Owner:, Close date:, and Amount: rows. A card with no primary contact or owner shows No Contact or No owner. The Archived column has no menu and no Add card option.
Responsive Board Header
The Opportunity Board header collapses at narrower screen widths so all board controls remain accessible on smaller displays.
Bulk Delete
Opportunity Boards support bulk deletion in both table view and column view, so you can remove multiple cards at once without opening each one individually.
Table view
In table view, select one or more cards using the checkboxes, then choose Delete from the action bar that appears. A confirmation modal prompts you to confirm before the cards are permanently removed. Archived opportunities are not affected.
Column view
In column view, each column has a Delete all cards option in its column menu. This deletes every card in that column that matches your active search filters — if a filter is applied, only the visible cards are deleted. Archived cards are not affected. The Archived column does not have this option; cards there must be deleted individually.
Note: You can bulk delete up to 5,000 opportunities at once. If more than 5,000 opportunities match, nothing is deleted — narrow your filters first, then delete in multiple passes.
Note: Bulk deletion is permanent and cannot be undone. Review the cards you intend to remove before confirming.
Advanced Reporting
Advanced Reporting gives you a deeper view into your Opportunity Board data — from high-level summaries to granular activity — on its own page. To open it, choose the Check our advanced reporting link in the banner at the top of the board. The report has two tabs: Overview and Details.

Overview
The Overview tab shows Opportunities, Total deal size, and Average deal size, followed by charts. Use it to get a quick pulse on pipeline health without digging into individual cards.
Details
The Details tab groups opportunities by stage, then by owner. Use the ▶ toggles to expand a stage or owner and see the opportunities underneath.
Activity Log
The Details tab also includes an Activity Log table, a record of changes made to opportunities on the board, with Activity Date, Activity By, Event Type, Description, From, and To columns. The Activity Log has its own date range. Use it to audit recent activity or track how deals are progressing over time.
Filters
You can narrow the report by Stage, Owner (All, Unassigned, or a specific user), Creation date, and Close date, and choose Include archived to add archived opportunities.
Sharing a Report
Your filter selections are saved in the page address, so you can copy the URL from your browser to share the same filtered report with teammates.